
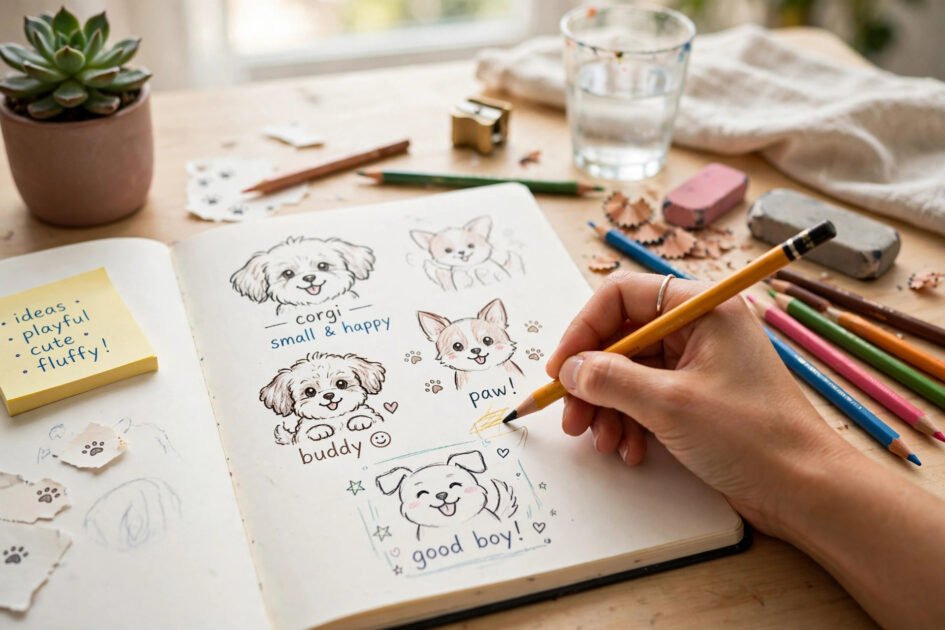

Ever tried to draw your dog and ended up with something that looks more like a potato with legs? You’re not alone. The good news is that cute pet illustration is a skill, not a talent — and it starts with understanding a few simple principles. Whether you want to illustrate your training blog, design printables, or just doodle your pup for fun, learning dog training drawing the right way makes everything easier. You don’t need expensive tools or years of practice. You need shapes, eyes, poses, color, and props — the five building blocks in this guide. By the end, you’ll have a repeatable method for drawing dogs that actually look like dogs, and cute enough to share.
1. Start with Simple Shapes
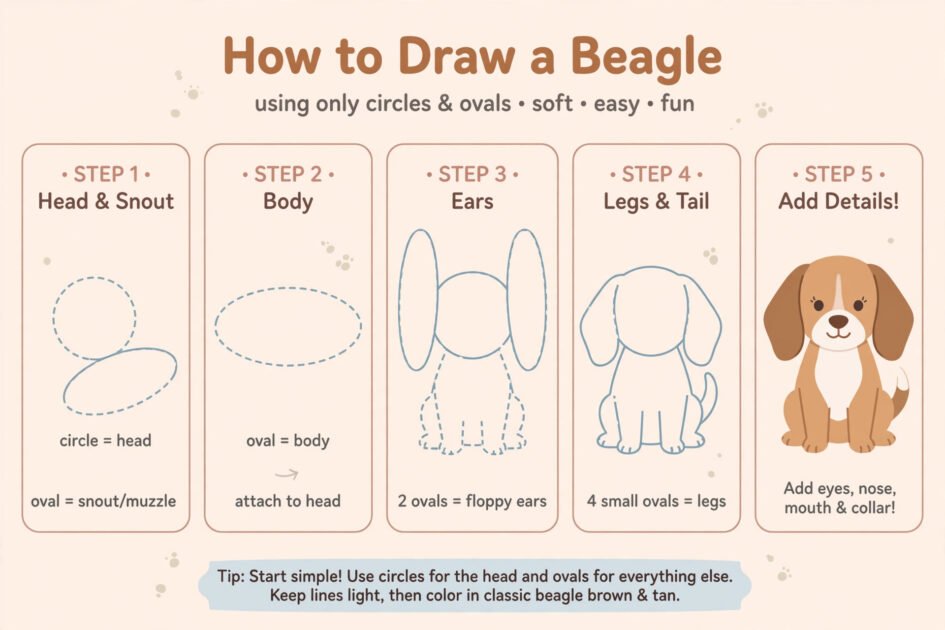
Every dog, from a Chihuahua to a Great Dane, starts as a bundle of circles and ovals. Forget details at first. Sketch a big oval for the body, a circle for the head, and smaller ovals for the snout and ears. Get the proportions roughly right and the cuteness follows automatically — big head, small body is the universal formula for adorable. Once the shapes sit well together, connect them with smooth curves and erase the construction lines. Practice this skeleton with five different breeds and you’ll start seeing the underlying structure in every dog you meet. This method also makes your drawings consistent, which matters when you’re illustrating a whole series of training posts. Simple shapes first, details later — always.
2. Master the Expressive Eyes

Eyes carry ninety percent of a drawing’s emotion. Get them right and even a rough sketch feels alive; get them wrong and the cutest pup looks blank. Draw eyes large and set them wide apart — this triggers the same “cute response” as a real puppy. Add a big white highlight circle in each pupil; that single sparkle is what makes cartoon eyes shine. Then practice expressions: happy eyes curve upward like little rainbows, curious eyes get one raised eyebrow, and “sorry” eyes droop with oversized pupils. Draw the same dog face five times with five expressions and you’ll have an emotional toolkit for every training scenario, from proud sits to guilty shoe-chewing confessions. It’s the fastest win in this entire guide.
3. Capture Signature Training Poses
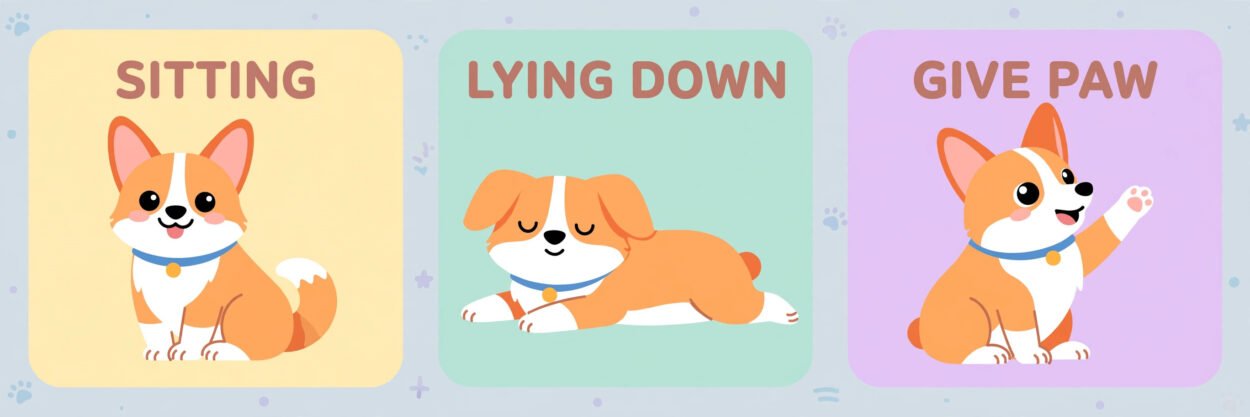
A training illustration usually needs the dog doing something specific: sitting, lying down, offering a paw. Learn these three poses cold and you’ll cover most tutorials. For a sit, think of a triangle — chest up, haunches folded. For a down, stretch the body into a long loaf with paws forward. For a paw shake, draw one leg lifted with a friendly tilt of the head. Exaggerate slightly; illustrations read better with a touch of cartoon physics. Keep a swipe file of reference photos of your own dog in these poses — nothing beats drawing from a real pup you know. Once you can draw sit, down, and shake from memory, you can illustrate almost any basic training guide.
4. Keep Your Colors Soft and Consistent
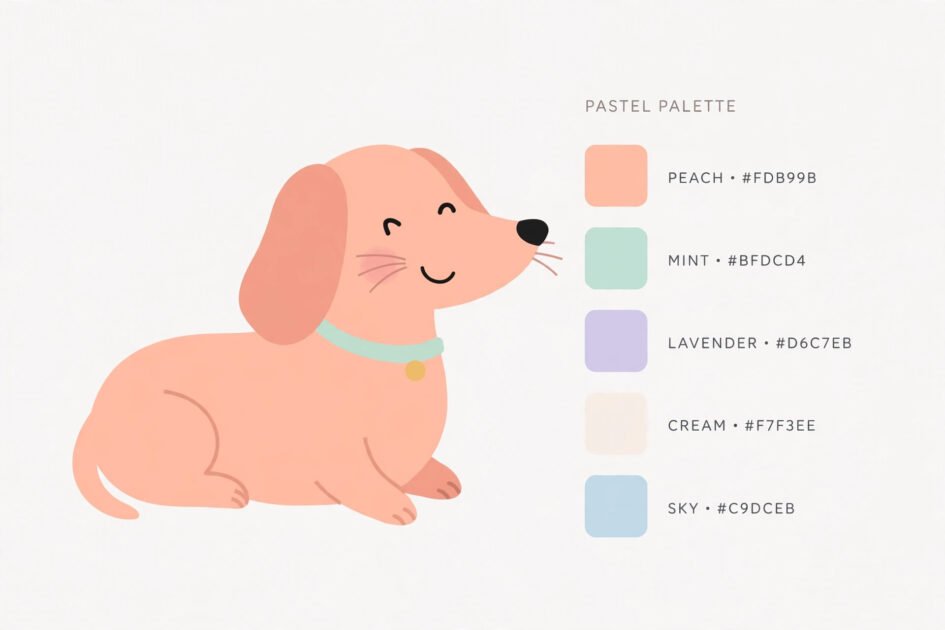
Color is where amateur drawings fall apart — too many saturated hues screaming at once. Cute pet illustration lives in soft, muted palettes: warm creams, gentle browns, dusty blues, blush pinks. Pick five or six colors and use them for everything; consistency across your drawings is what makes a collection feel professional. Add simple cel shading — one slightly darker tone on one side — for instant depth without complexity. And leave white space. A pup floating on a clean background with a soft shadow looks far more polished than one crammed into a busy scene. Save your palette as swatches in your drawing app so every new illustration automatically matches your brand.
5. Add Training Props for Storytelling
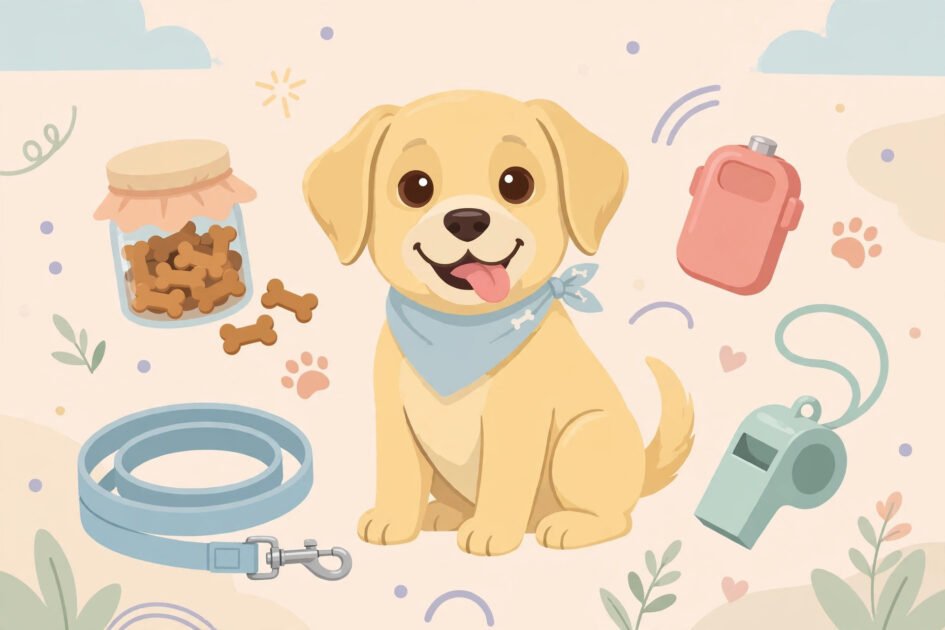
A dog alone is cute; a dog with a clicker, a treat pouch, and a slightly-too-long leash tells a story. Props turn a generic pup into a training illustration. Draw a small set of reusable props — leash, collar, treat bag, clicker, whistle, toy — in your style, and drop them into scenes as needed. Props also solve the “what is the dog doing?” problem: a pup staring at a treat in your illustrated hand instantly communicates “luring,” no caption required. Keep props chunky and simple so they read at small sizes, because most of your audience will see these drawings on a phone screen. One afternoon building a prop library pays off in every illustration you make afterward.
FAQs About Dog Training Drawing
What’s the easiest dog breed to start drawing?
Start with simple-shaped breeds like pugs, corgis, or French bulldogs. Their round bodies and minimal features forgive wobbly lines, and the results look cute fast — which keeps you motivated to continue.
Should I draw on paper or digitally?
Digital is more forgiving for beginners: undo, layers, and symmetry tools remove most frustration. But paper sketching builds confidence in your lines. Do rough practice on paper and finished pieces digitally.
How do I make my drawings look consistent?
Use the same construction method, the same eye style, and the same color palette every time. Create a one-page style sheet with your standard dog, eyes, and colors, and check new drawings against it.
Can I trace photos when learning?
Tracing for practice is fine and genuinely speeds up learning proportions — just don’t publish traced work as your own. Once the shapes feel natural, draw from reference without tracing.
How long until my drawings look good?
With 20 minutes of daily practice, most beginners see a real jump in 3–4 weeks. Focus on one skill at a time — shapes first, then eyes, then poses.
The Bottom Line
Here’s the secret nobody tells beginners: every cute illustrator you admire started with lumpy potatoes with legs. The difference is they kept going. Pick one dog training drawing tip from this guide, practice it for a week, and add the next. In a month, you’ll have a style that’s unmistakably yours — and a sketchbook full of very good dogs.