
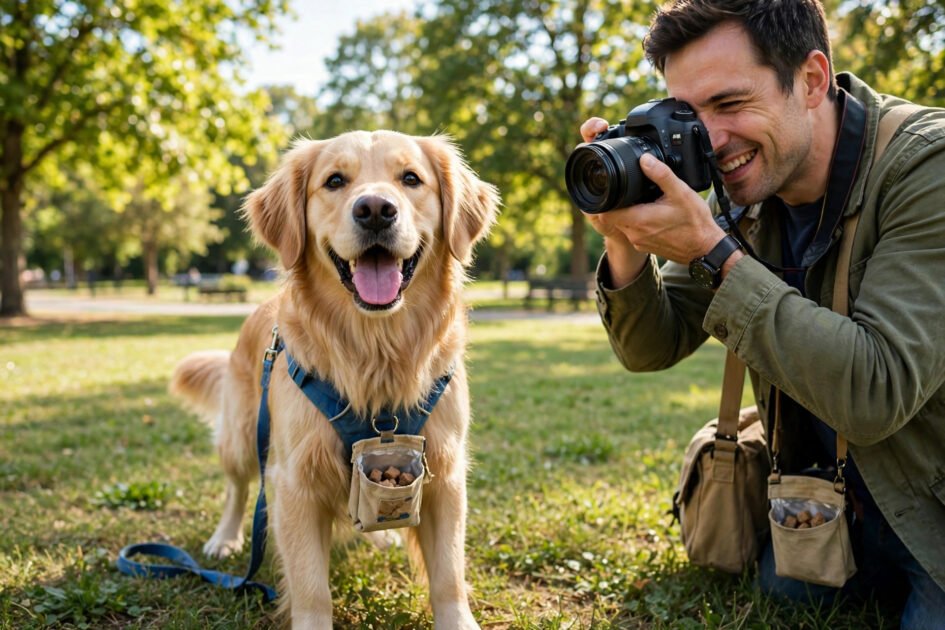

Your dog just nailed their first perfect “stay” — ears up, eyes locked on you, tail wagging like a metronome. You fumble for your phone, snap a photo, and get a blurry brown blob against a cluttered living room. Sound familiar? Dog training photography is its own little art: you are capturing a moving, easily distracted subject in the middle of unpredictable moments. But with a few simple techniques, your training photos can go from forgettable to frame-worthy.
Whether you want progress pictures for your trainer, content for your dog’s social media, or just memories of these early days together, these five tips will help you capture perfect pet images during training sessions. No fancy camera required — your phone is more than enough.
1. Use Natural Light Whenever You Can
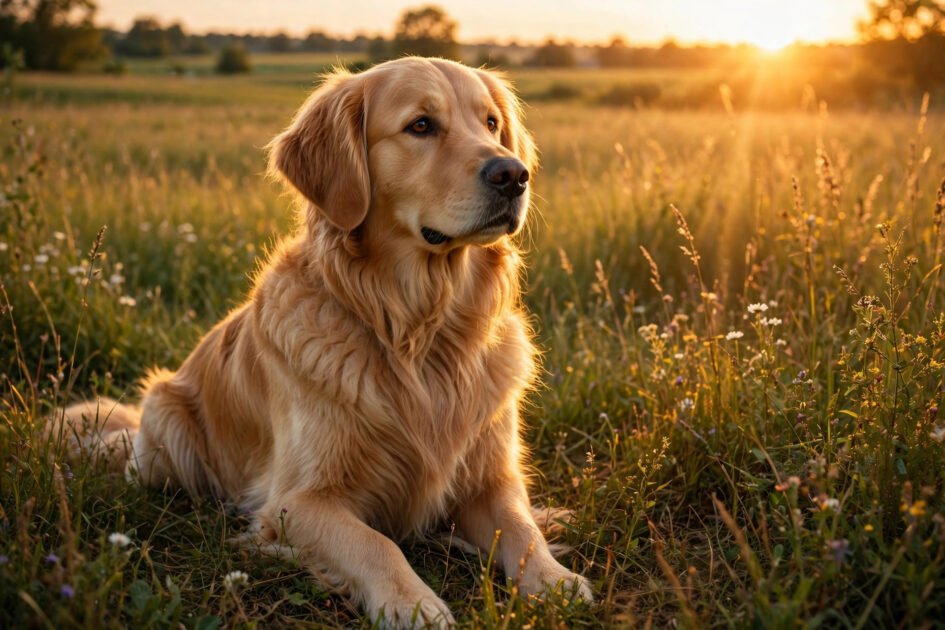
Light makes or breaks a pet photo, and nothing beats the real thing. Harsh midday sun creates squinty eyes and dark shadows, while dim indoor lighting forces your phone to crank up its ISO, which means grainy, muddy images. The sweet spot is the hour after sunrise or before sunset, when the light turns soft, warm, and golden.
Plan short training sessions during these windows and position your dog so the light falls on their face rather than behind them. If you must shoot indoors, move near the biggest window and turn off overhead lights, which cast unflattering yellow tones. One practical trick: have your dog face the window while you shoot with your back to it. The difference in clarity and coat detail is dramatic, and you spent exactly zero dollars to get it.
2. Get Down to Your Dog’s Eye Level
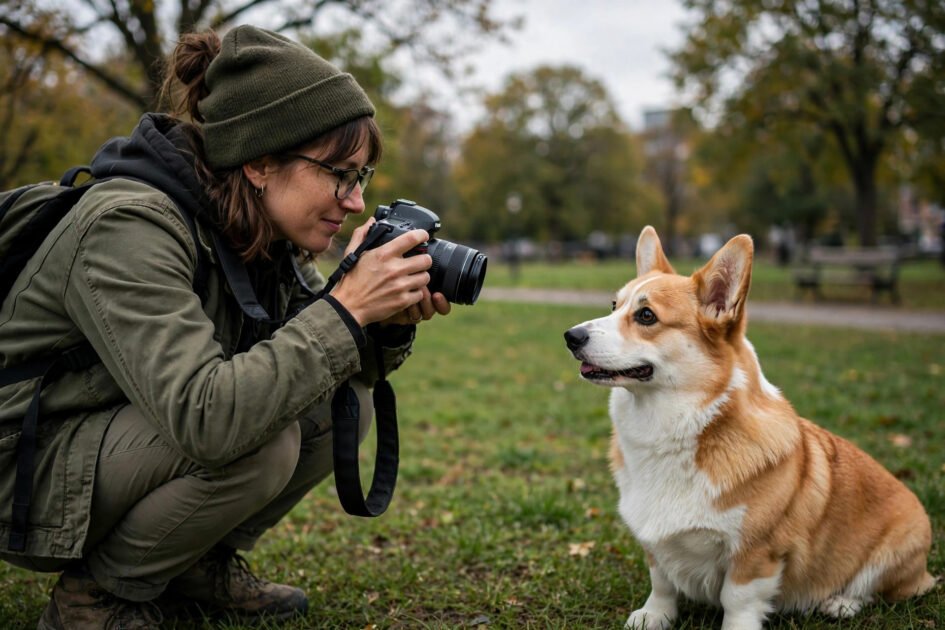
Most bad dog photos share one flaw: they were taken from standing human height, looking down. That angle makes even majestic dogs look small and oddly proportioned, and it fills the frame with boring ground. The single fastest upgrade to your pet images is to crouch, kneel, or even lie on the ground.
Shooting at eye level creates an intimate, powerful portrait that shows your dog as they really are. It also blurs the background naturally on most phones’ portrait modes, making your pup pop. During training, this is easy to combine with luring: kneel to present the treat, and you are already in position when your dog offers the behavior. Your knees might get grassy, but your photos will look professional.
3. Direct Their Attention With Treats and Toys
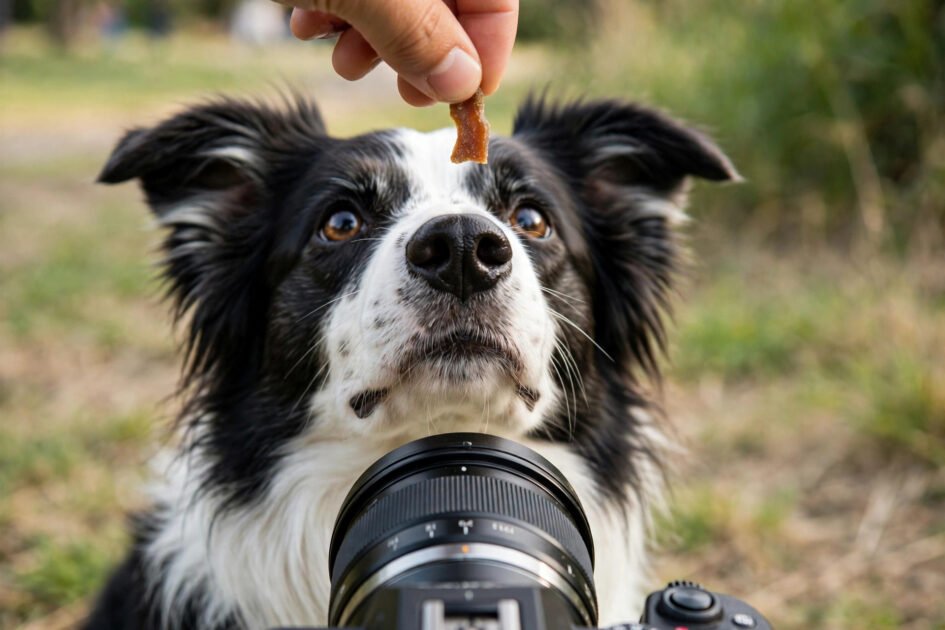
The classic struggle: you say “look here,” and your dog stares at everything except the lens. Professional pet photographers solve this with sound and motion, not shouting. Hold a treat or favorite toy directly above your phone’s lens, or have a helper squeak a toy just out of frame.
Timing matters more than bribery. Ask for a “sit” or “watch me,” reward the focus, and shoot in the two-second window while your dog is still locked in. For ear-perk shots, try an unusual noise — a gentle whistle, a funny voice, or crinkling a treat bag. Take the photo the instant those ears go up. And keep sessions short: three minutes of engaged posing beats twenty minutes of a bored, panting dog every time.
4. Use Burst Mode for Action Shots
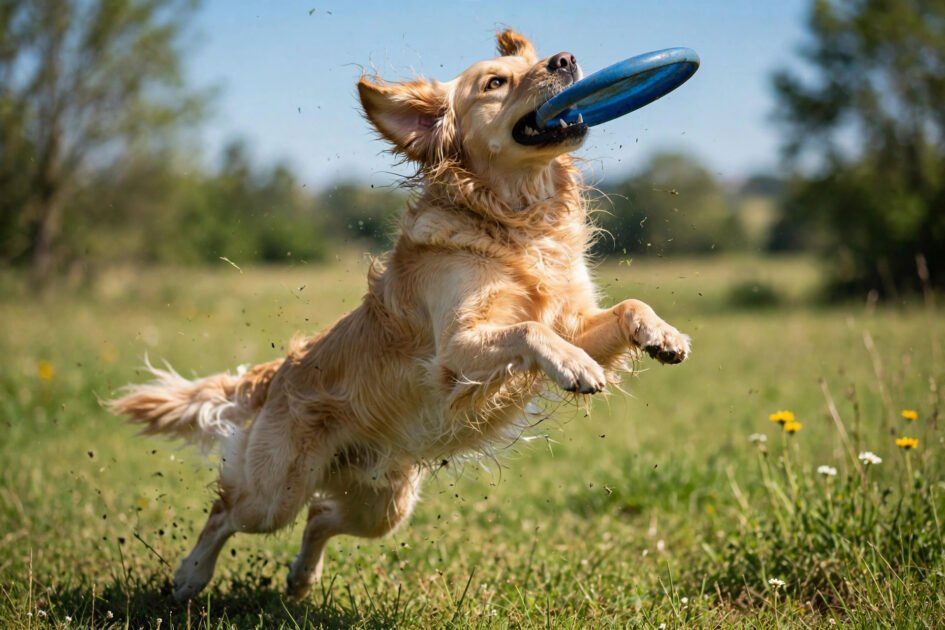
Training is full of motion — recalls at full sprint, jumps over obstacles, the joyful shake-off after a job well done. A single tap of the shutter will almost always miss the peak moment or catch motion blur. Burst mode, which fires dozens of frames per second while you hold the button, changes the game.
On most phones, just press and hold (or swipe) the shutter button during the action, then pick the sharpest frame afterward. The trick is anticipating the moment: start the burst a half-second before your dog launches for the toy or crosses the finish line. You will end up with thirty near-identical frames and one absolute stunner — a mid-air catch, ears flying, pure joy frozen forever. Delete the rest without mercy.
5. Keep Backgrounds Clean and Edits Simple
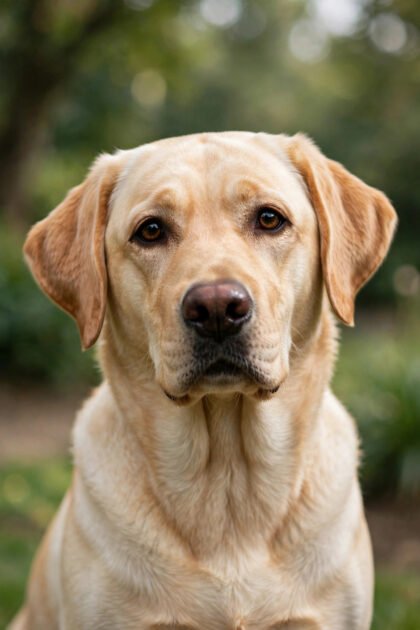
A great dog photo can be ruined by a trash can, a parked car, or a stranger’s legs in the background. Before you shoot, do a quick scan and shift your angle so the backdrop is simple: a hedge, an open field, a plain wall. A clean background keeps all attention on your dog and instantly looks more professional.
When editing, restraint wins. Bump up brightness and sharpness slightly, maybe add a touch of warmth, and stop there. Over-filtered pet photos with neon saturation look dated fast, and heavy filters can distort your dog’s true coat color — a real problem if these are progress photos for your trainer. The goal is a natural image that looks like your dog on their very best day, because that is exactly what it is.
FAQs
What camera is best for dog training photography?
Honestly, the phone in your pocket. Modern smartphones have excellent autofocus, burst mode, and portrait effects. Upgrade only if you fall in love with the hobby — skill matters far more than gear.
How do I get my dog to look at the camera?
Use the “watch me” cue your dog already knows from training, and hold a high-value treat right above the lens. Reward the eye contact, then shoot quickly before the focus fades.
What is the best time of day for pet photos?
The golden hours — roughly the first hour after sunrise and the last hour before sunset. The light is soft, warm, and flattering, and dogs are often calmer than at midday.
How do I photograph a black dog without losing detail?
Shoot in bright, soft light (never harsh sun), slightly overexpose, and use a lighter background for contrast. Focus on the eyes — catchlights make dark-coated dogs come alive.
Should I use flash for indoor dog photos?
Avoid it when you can. Direct flash causes glowing eyes and flat, harsh light. Move near a window instead, or bounce a lamp’s light off a white wall for softer fill.
Conclusion
Great dog training photography is not about expensive gear — it is about light, angle, timing, and knowing your subject. Shoot in soft natural light, get low, direct attention with treats, burst through the action, and keep things clean and simple. Do that consistently, and you will build a collection of perfect pet images that capture not just how your dog looked, but the joy of learning together.